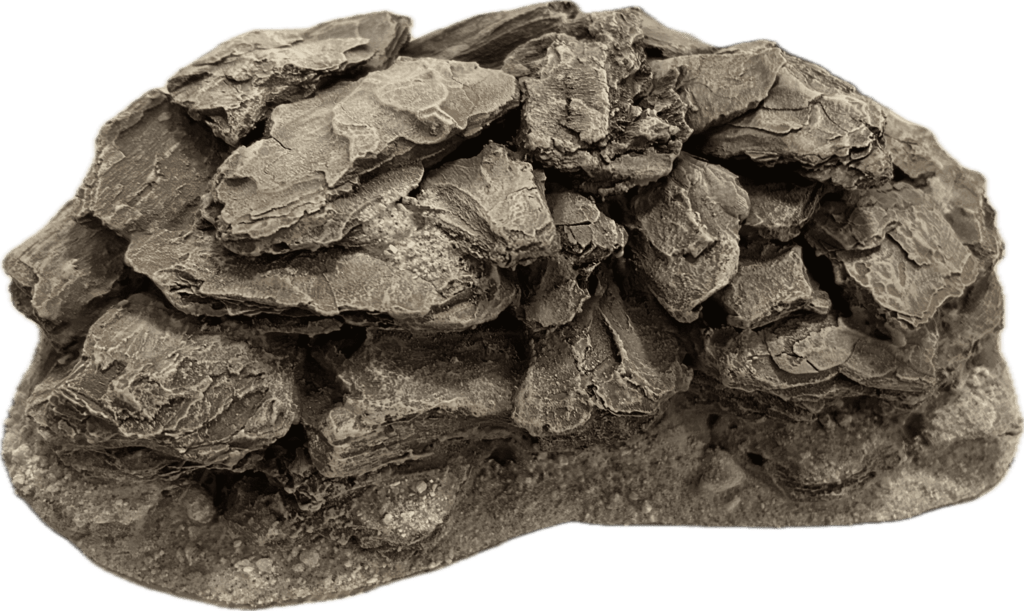
A pile of rocks. Very uninspiring, but a very effective piece of terrain. As our playing group delves deeper and deeper down the abyss of Hive Secundus and the Undehells campaign, we have been thinking, what’s next? As we’re still new to the game Necromunda, we excluded the ash wastes scenarios from the Underhells campaign to minimize complexity. But maybe soon we will visit the ash wastes and then other terrain than the Zone Mortalis is needed.
This smaller project was a quick and experimental one. I really had no clue what I was doing and how it would turn out. Some stuff that was used:
The materials and tools:
- Cardstock for the base. Roughly 2-3 mm thick
- Tree bark. You can buy a bag that are ready to use, or just get outside and run it in the oven with 125 celsius for roughly 30 minutes
- Spackle
- PVA glue / wood glue
- Mod Podge mate, or ready made scenic spray
- Sand. I used ready made that I thought looked appropriate (Geek Gaming Scenics City Rubble to be exact), but you can of course use sand from a beach or similar. One perk with ready made sand is that you can pick the colors you like and then just not paint it
- Super glue or a glue gun
- A bigger brush suitable for dry brushing
- A metal modelling tool
Colors:
- Priming:
- Dry brushing:
- Wash 1
- Wash 2
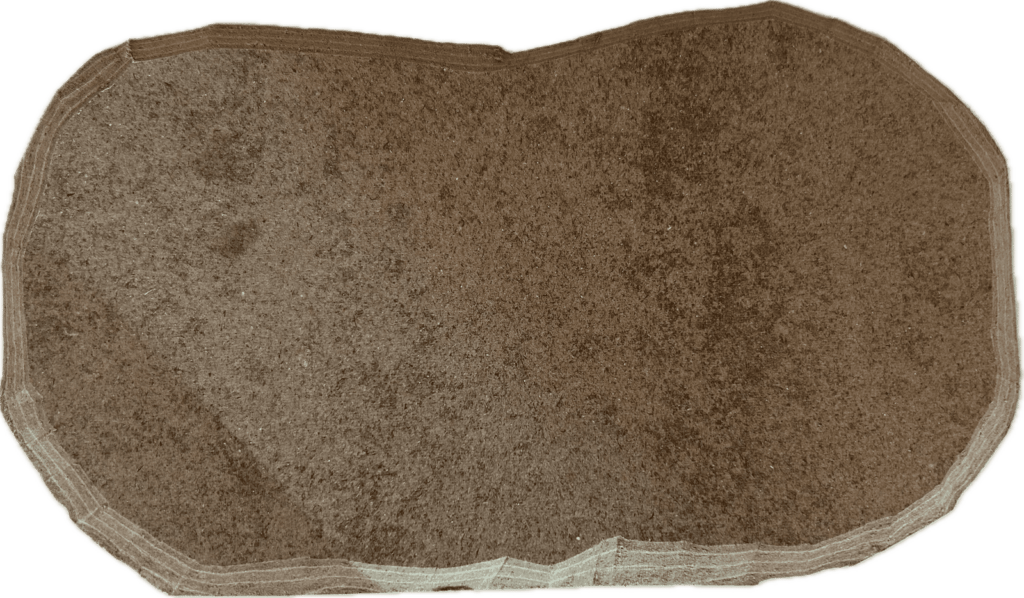
I started with applying Pod Modge to a piece of cardstock, one side at the time. You can preferably use chip board instead, but this was what I had at home. Cut out the sides to a form that I thought was appropriate, then I simply started gluing bits of bark to the base with super glue.
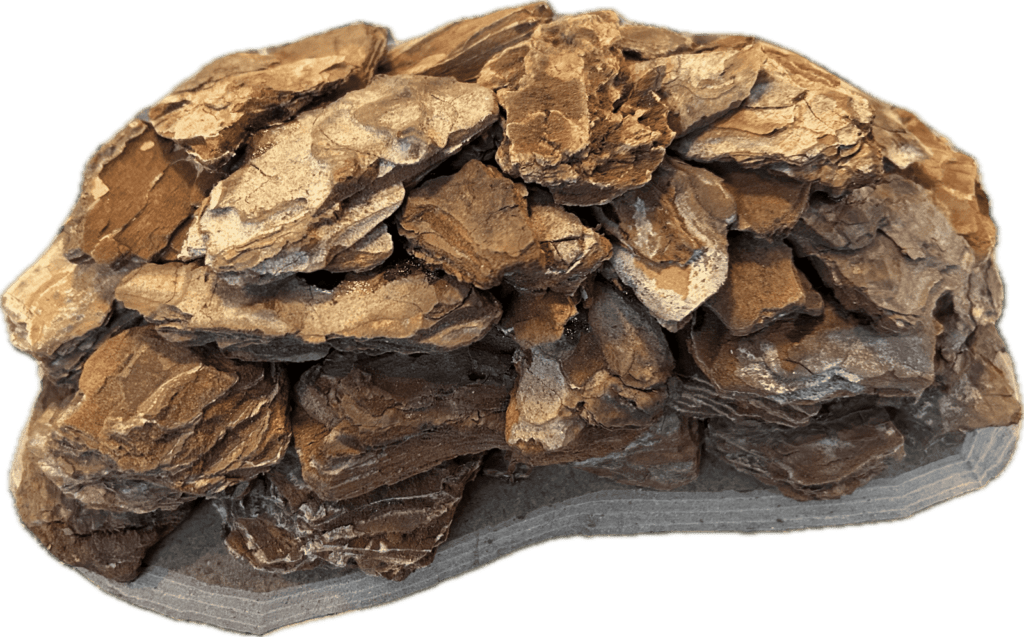
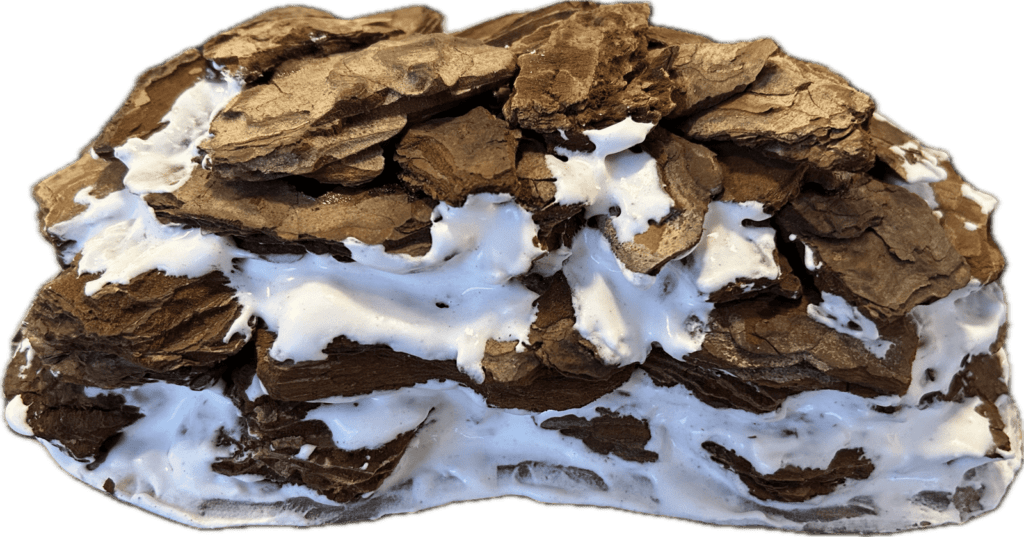
Then I mixed some spackle with Mod Podge and water until I got a consistency of whipped cream. It should not be too runny, but not too firm either. You could fill it out with sand if you want to add more texture, but I chose not to. Use it to fill the holes that you couldn’t or forgot to fill with smaller bark bits and leave it to dry overnight, then go back with a screw driver or metal modelling tool and scrape away the excessive spackle.
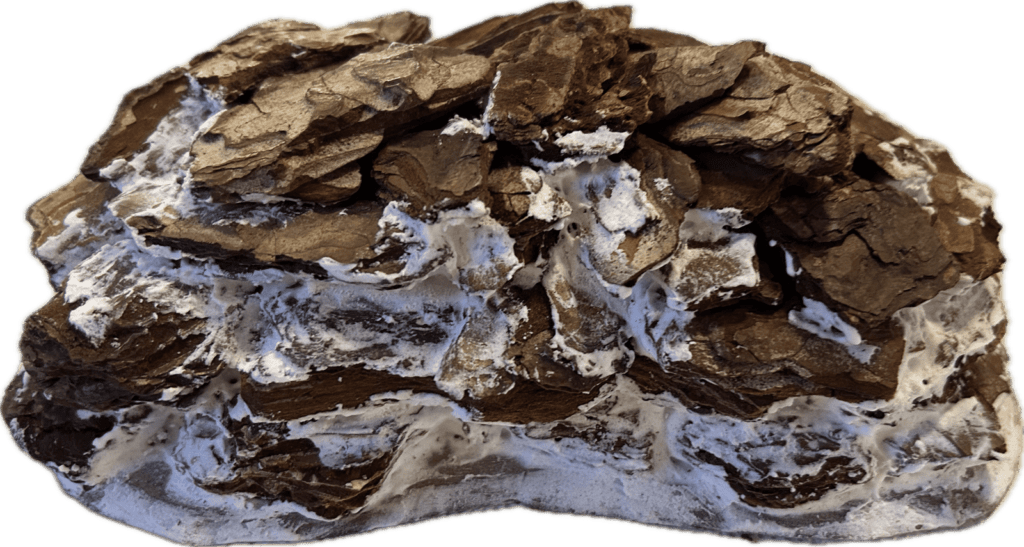
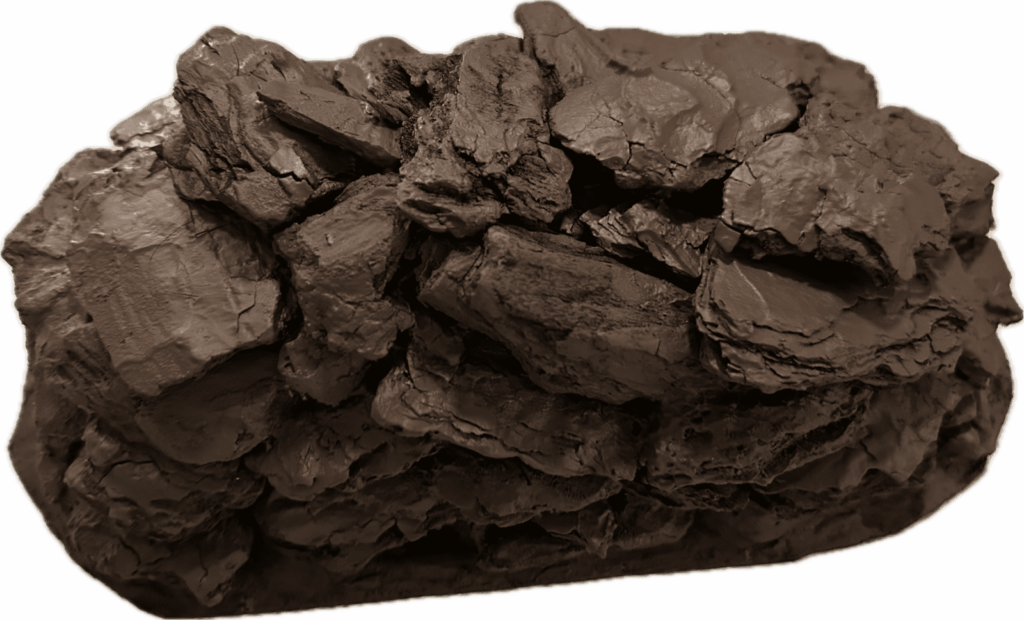
Priming time. I started with Chaos Black and then applied a coat of Army Painter Oak Brown. You could preferably use a brighter brown here, but the darker brown was what I had at home.
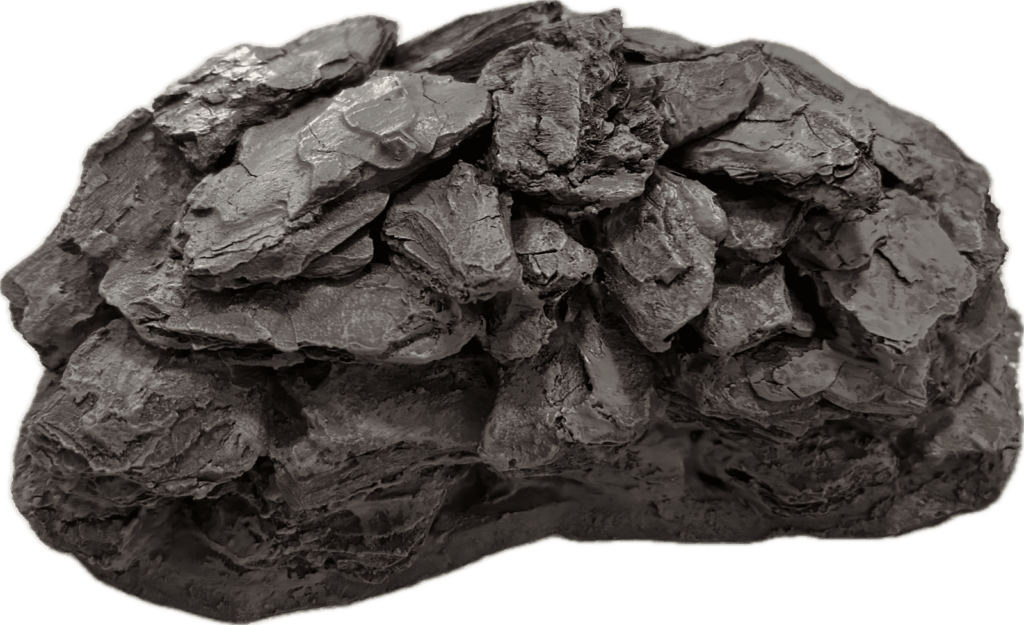
Time for painting! Feel free to use cheaper acrylic paints for this, but these paints where the ones that I had home already. I started dry brushing the darker greys, AK Neutral Grey and Vallejo Stonewall Grey and then additional dry brushing highlights with AK Pale Grey and then Vallejo Wolf Grey.
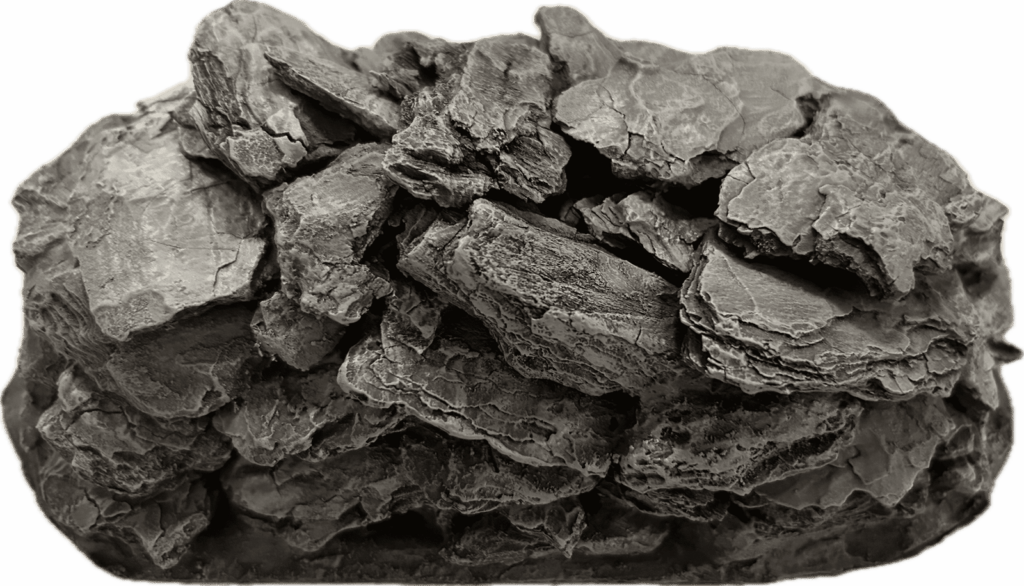
Super boring stone and lacking in color, so I decided to try some washes. First a watered down mix with equal parts Vallejo Cavalry Brown and Vallejo Amaranth Red. Roughly 10% paint and 90% water. It looks like a very rusty orange, which I though would add some more natural reddish stone color to it. After that had dried, I did a second wash that was a bit more beige using Vallejo Desert Yellow. Again roughly 10% paint and 90% water.
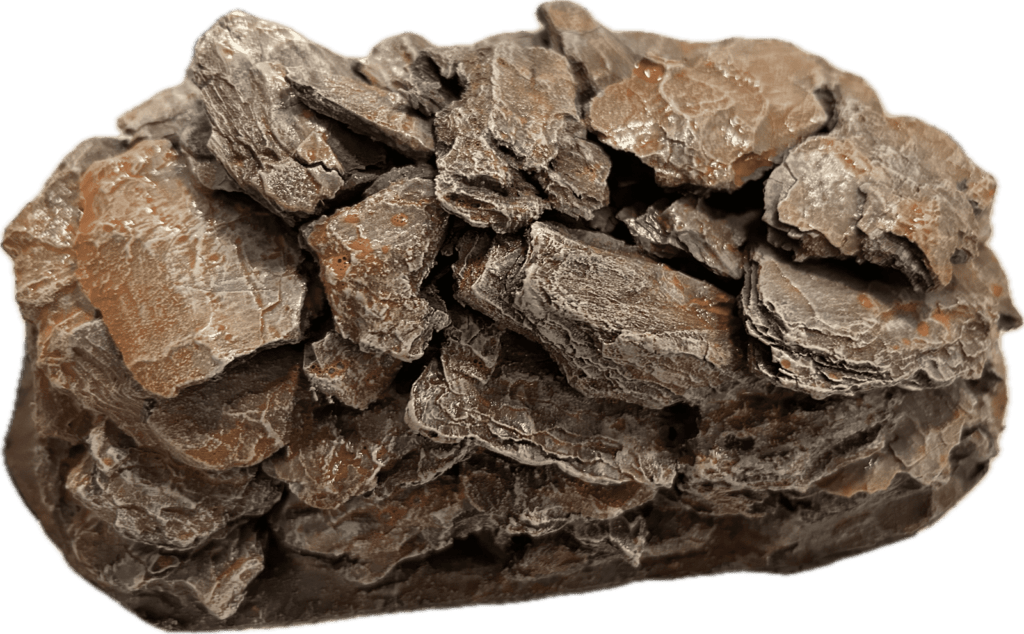
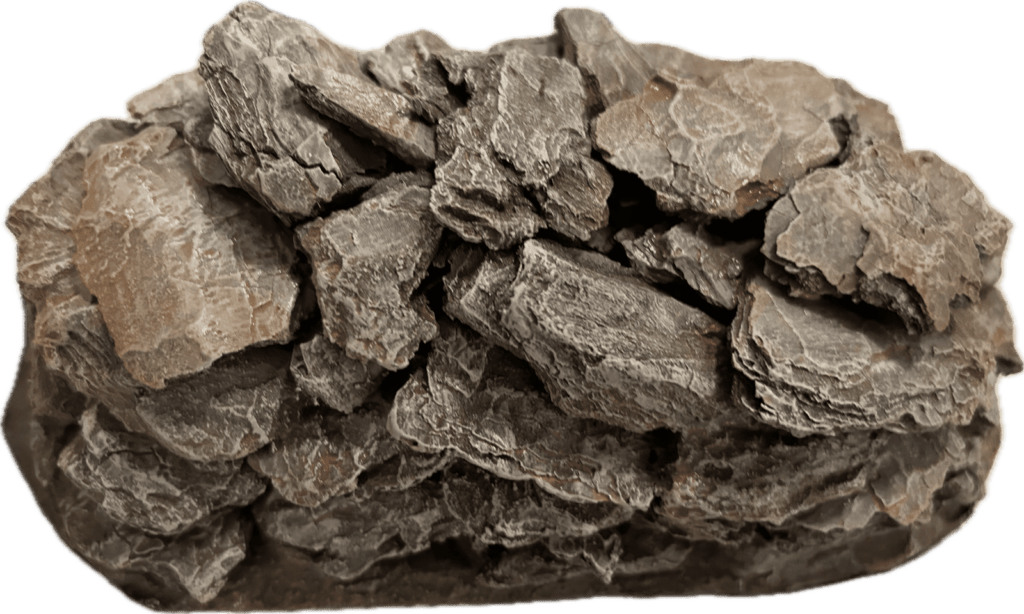
Much better in my opinion. Now we have some more brown and reds in the piece. Then I completed it with a final highlight with Vallejo Ice Yellow and then stuck some sand on it using PVA glue. Finally, I gave it a spray with my home made scenic sealant that is 1/4 Mod Podge and 3/4 water with a couple drops of dish washing soap.
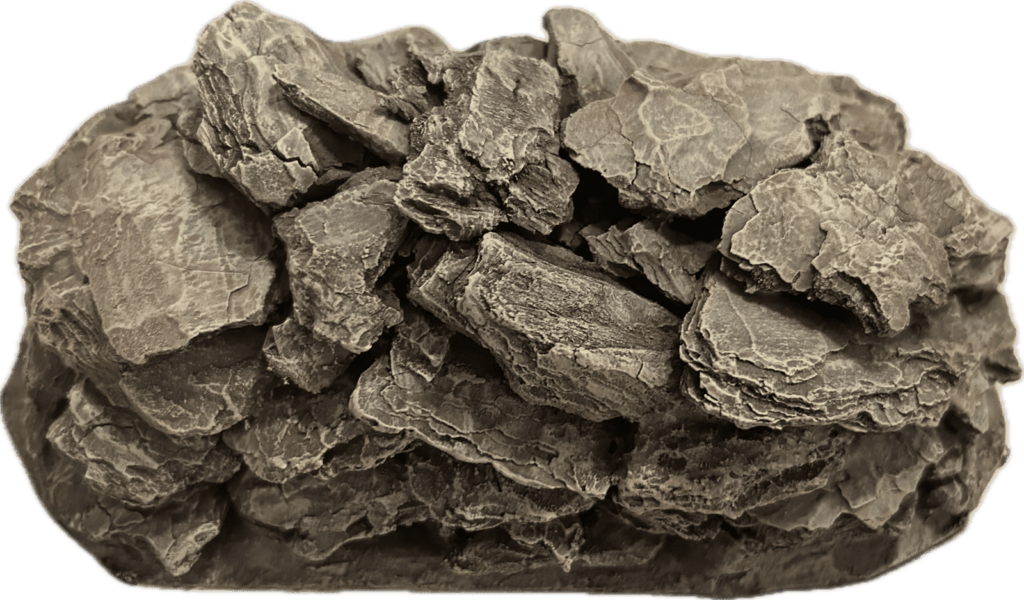

I’m kinda happy with this recipe and I will probably make some more pieces combined with some other types of terrain, maybe some hab modules that are integrated into the stone would look cool.