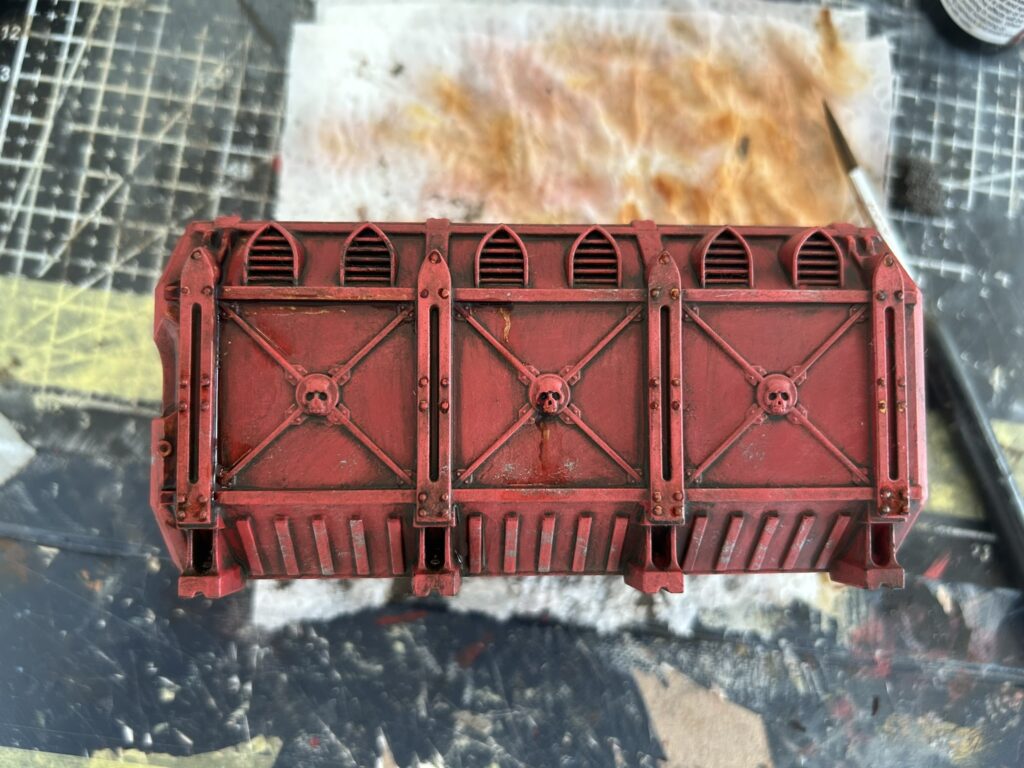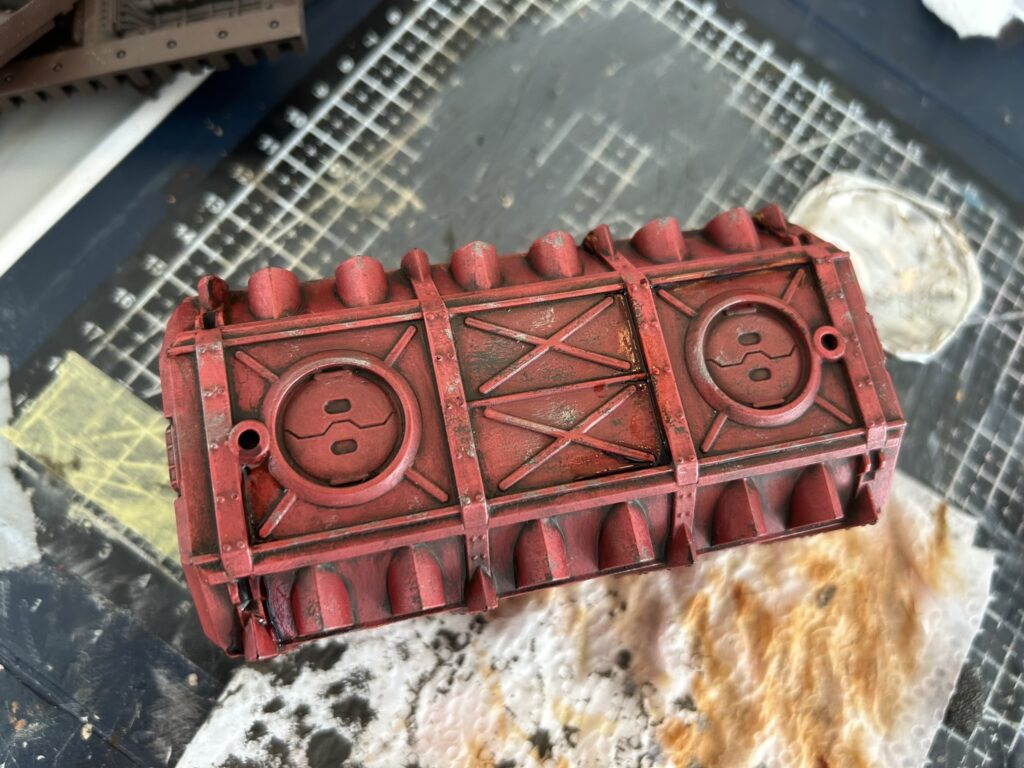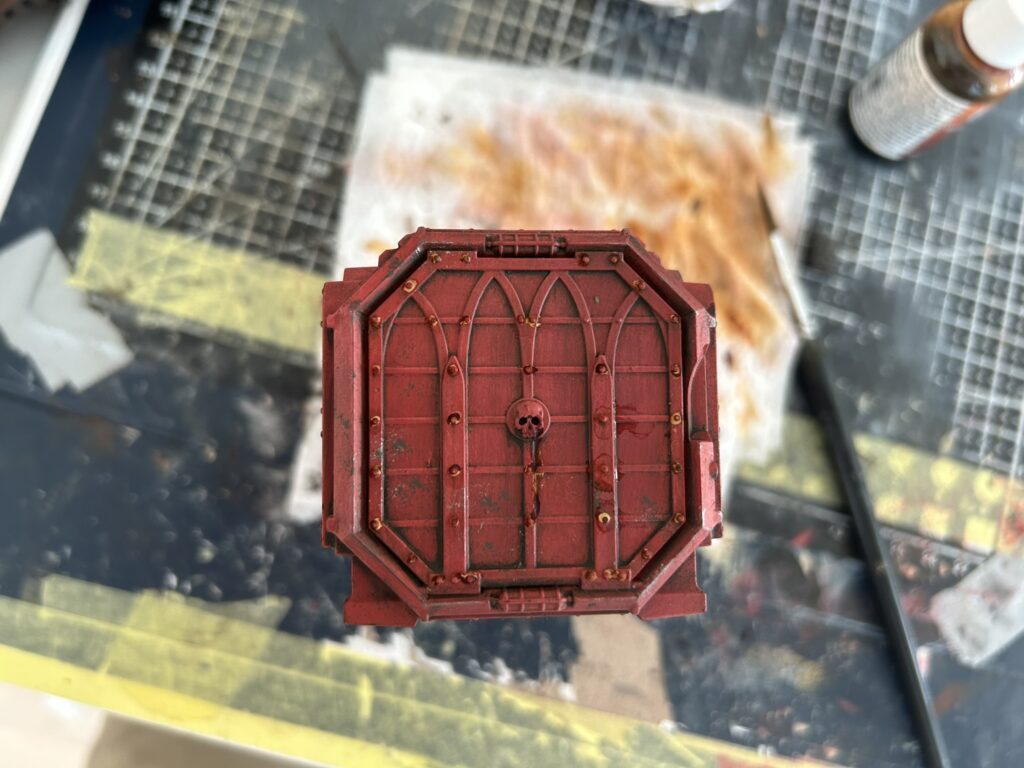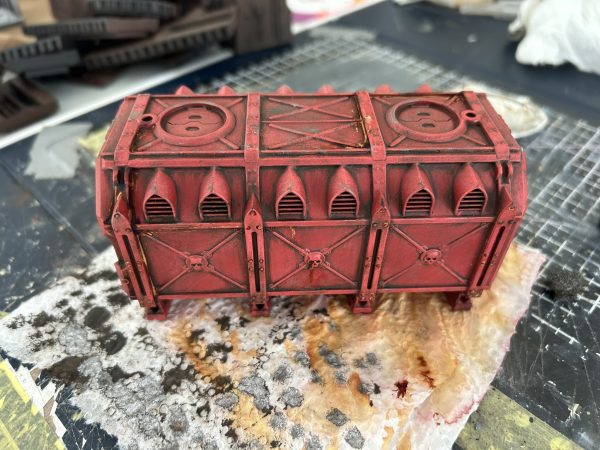
As our playing group is just starting out, we don’t have all the terrain we might need in place yet. A container is quite generic and fits well with most character games, for example 40K or Kill Team, and can be completed quickly. We’re playing Necromunda, so dirt and grime are on the menu. In this case, I chose to go with a red container, but of course any color is fine.
I started by splitting the work up into sections to make planning easier:
- Colors
- Prime: Chaos Black
- Bas: Mephiston Red
- Highlight: Deep Red
- 2:nd highlight: 50/50 Deep Red & Ice Yellow
- Wash
- Streaking Grime diluted with a few drops white spirit
- Weathering
Other things that are good to have:
- A large brush. In this case, you don’t want to use your size 0 to put on a base coat
- Brush for drybrush. I applied my highlights with a drybrush. So then it is of course convenient if you have such a brush. I use cheaper brushes from Army Painter, but if drybrushing is something you do often, there are nicer things from Artis Opus that I can recommend
- Cotton pads to wipe off the enamel paint
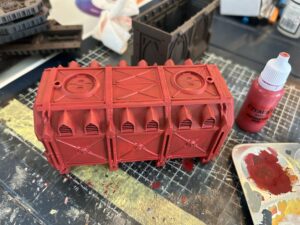
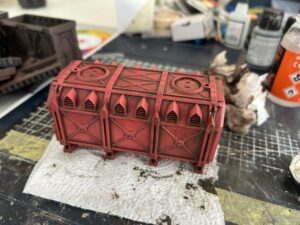
After spraying with primer, applying a basecoat and drybrushing first with only Deep Red, then 50/50 Deep Red and Ice Yellow, I’m off to a good start:
After spraying with primer, applying a basecoat and drybrushing first with only Deep Red, then 50/50 Deep Red and Ice Yellow, I’m off to a good start:
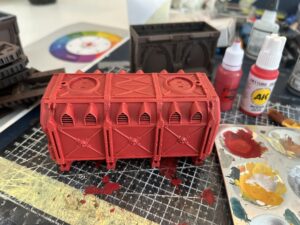
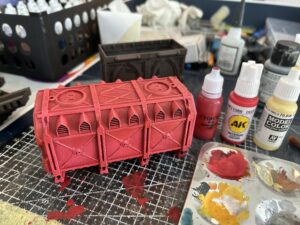
The next step was simply to drench it in Streaking Grime. Feel free to use breathing protection and ventilate well as Streaking Grime is an enamel paint. After waiting about an hour, the enamel paint is dry. Then just dab some paper towels or cotton pads in white spirit and start wiping away the enamel paint that is reactivated by the white spirit. A bit like the product name Streaking Grime suggests, I think you get the best effect by drying it off with a cotton pad by going from top to bottom. Then you get small streaks that look like dirt that has run down the length of the container.
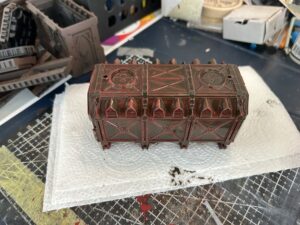
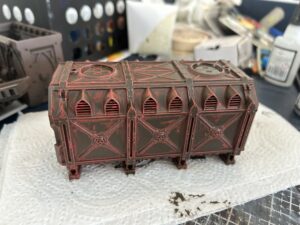
After the enamel paint has dried again, it is time for the last step, namely “weathering”. I start by dabbing on some Burnt Umber with tweezers and a small piece of foam from, for example, a dish sponge. Then I do the same thing but with metallic paint.
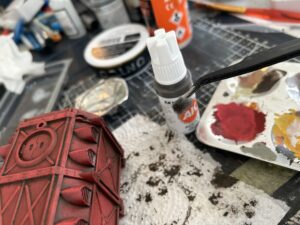

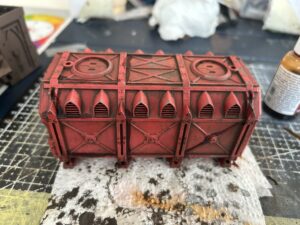
The final step was Dirty Down Rust (DDR), which you apply wherever you want rust to appear. Remember to shake the bottle so the sediment at the bottom loosens. Then, shake it even more. It’s important to get all the pigments mixed, which can be challenging at times.
Once the DDR has dried, take a brush with water and brush off any excess. The water also activates the paint, drying it to create a more orange rust effect in certain spots. Once that has dried, it’s done! A project you can easily complete in an afternoon.
